
How to Enable/Disable Hardware-accelerated GPU Scheduling
Hardware Accelerated GPU Scheduling enables more efficient GPU scheduling between applications. The GPU manages its own VRAM, rather than having it managed by Windows OS. This reduces latency & increases video playback performance.
However, in our opinion, you should enable Hardware Acceleration for real-time render engine or Lumion, UE, and Twinmotion. Render engine, which uses Cuda of GPU like Redshift, Octane, Vray, Arnold,…on the Blender, C4D, Maya, Houdini, 3Ds Max,…should disable Hardware Acceleration.
CONTENTS
1. Enable Hardware-accelerated GPU Scheduling
To enable hardware-accelerated GPU scheduling using Windows 11/10 Settings, follow this procedure:
- Open Settings
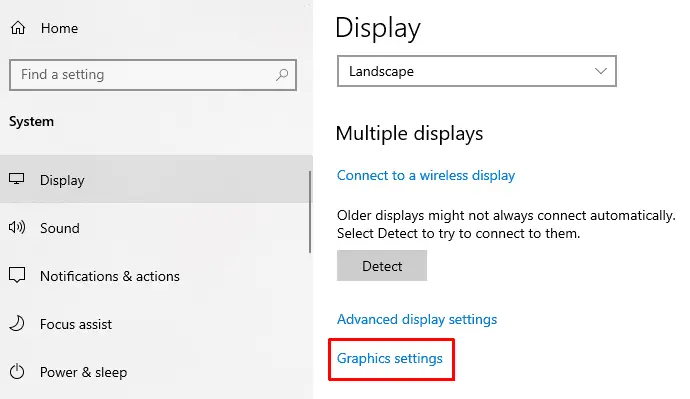
- Select System > Display tab.
- Locate Multiple displays
- Click on Graphics Settings.
- To enable the feature, toggle ON the button next to the Hardware-accelerated GPU scheduling.
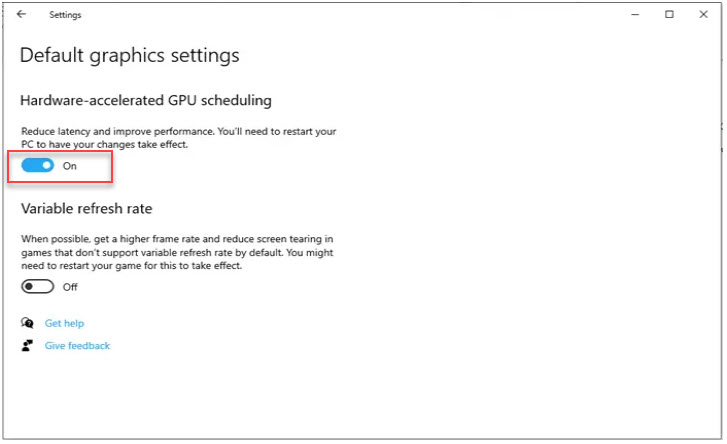
- Reboot your Windows device to apply the changes.
2. Disable Hardware Acceleration in Windows 11/10
To disable hardware-accelerated GPU scheduling using Windows 11/10 Settings, follow this procedure:
- Open Settings
- Select System > Display tab.
- Locate Multiple displays
- Click on Graphics Settings.
- Select the Change Default Graphics Settings option.
- To disable the feature, toggle OFF the button next to the Hardware-accelerated GPU scheduling.
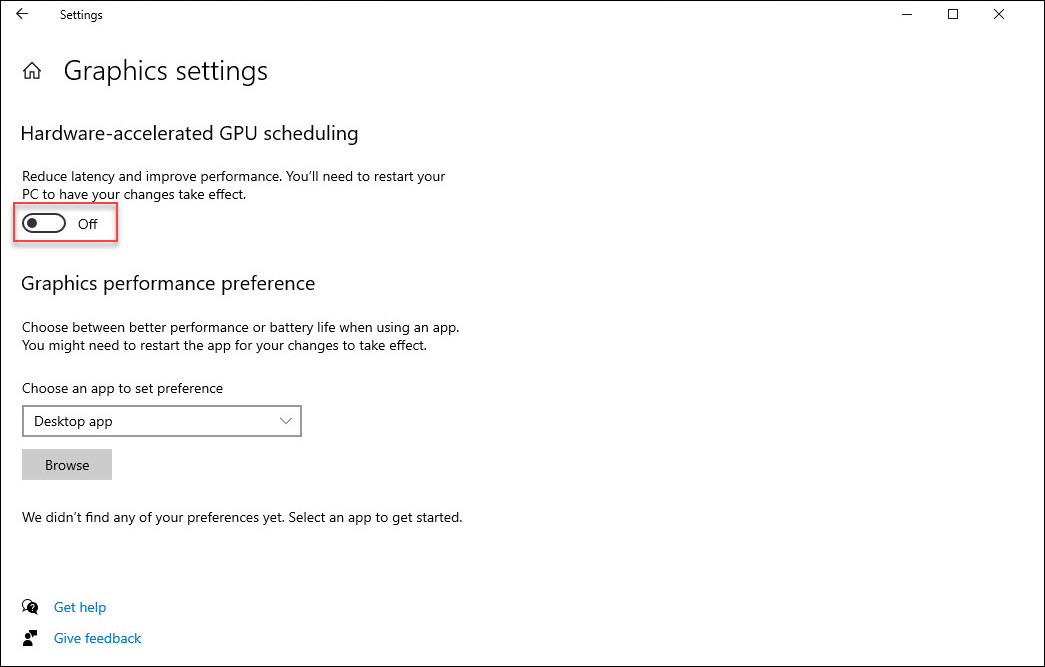
- Reboot your Windows device to apply the changes.
