
Disable Internet connection on a remote server
Follow these steps below to disable Internet connection on a remote server:
CONTENTS
1. Open Ethernet settings
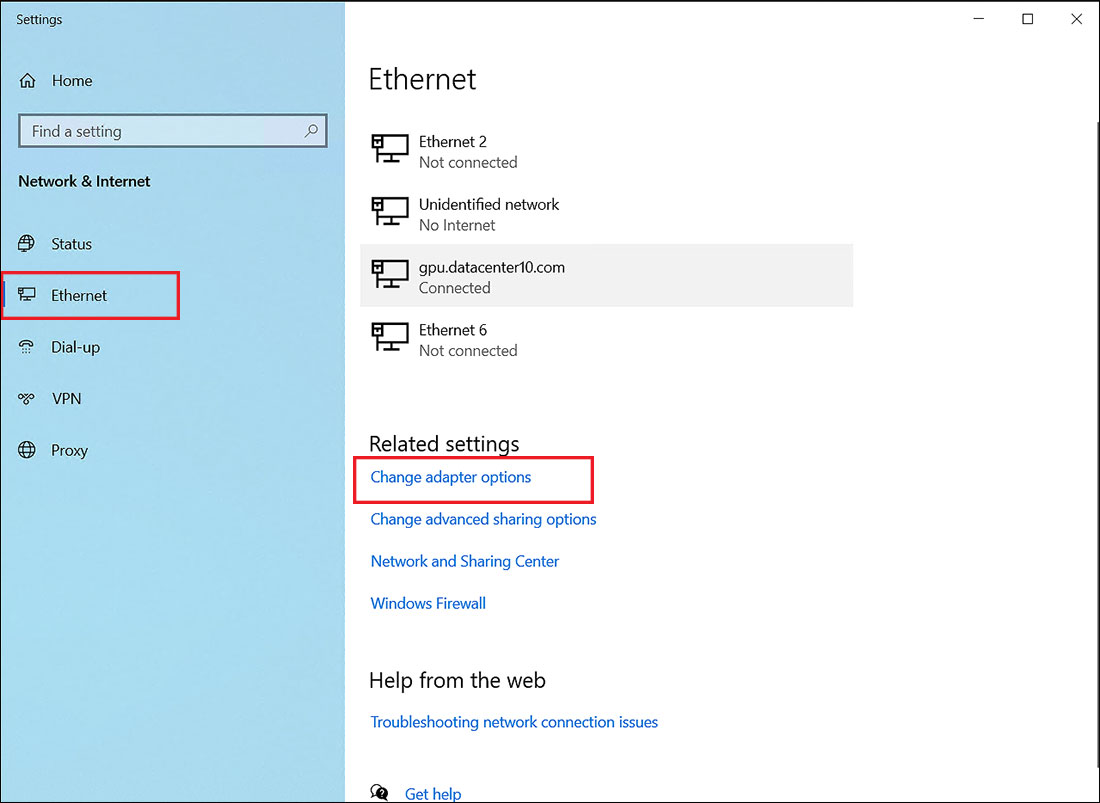
On the remote server, open Ethernet settings by searching for “Ethernet” from the start menu.
2. Choose Change adapter options
3. Disable two Ethernet connections
- Right-click on the first Ethernet » choose Properties » then tick Internet Protocol Version 4 (TCP/IPv4) » OK.
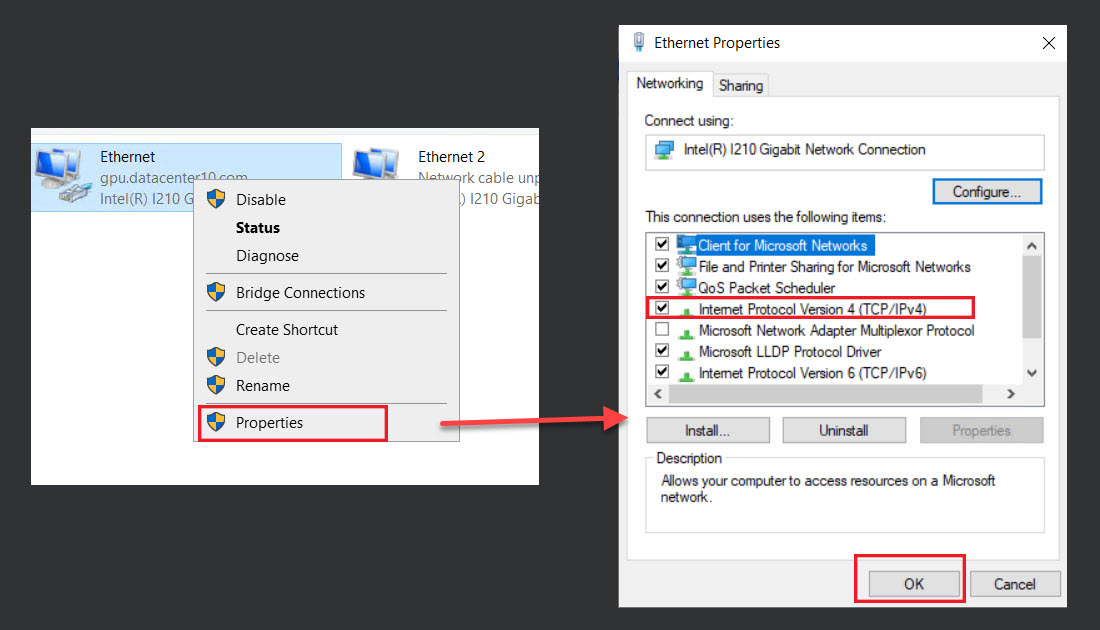
- The Internet Protocol Version 4 (TCP/IPv4) Properties appears.
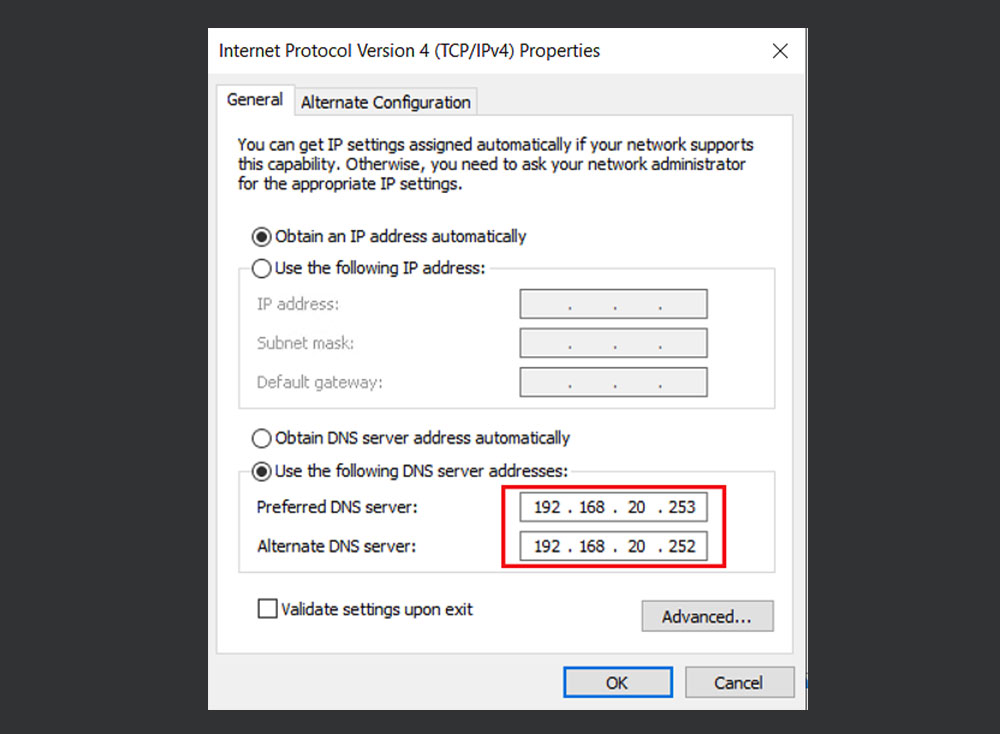
- In the General tab, you’ll see the initial DNS server addresses:
Preferred DNS server: 192.168.20.253
Alternate DNS server: 192.168.20.252
- Now, replace them with the following DNS server addresses:
Preferred DNS server: 10.0.0.1
Alternate DNS server: 10.0.0.2
- Choose OK.
Similarly, disable the other Ethernet. Already disabled two Ethernet connections.
4. Enter the initial DNS server addresses before shutting down the remote server
CautionEnter the initial DNS server addresses before shutting down the remote server. If not, you will not be able to access the server next time.
< Previous
Remote Desktop Errors and Solutions
