iRender GPU App Installation Guide for Windows, Linux, and macOS
iRender – Maximum Power, Absolute Freedom, and a Seamless Local Machine Experience in Just Minutes.
We provide a leading Cloud Rendering solution, enabling you to build your own powerful GPU Render Farm with just a few clicks through the iRender GPU App. Choose from configurations featuring 2/4/6/8 × RTX 4090/5090 GPUs to meet your rendering needs.
This guide provides step-by-step instructions on how to download and install the iRender GPU App on Windows, Linux, and macOS, helping you quickly set up and get started with the application on your device.
CONTENTS
1. Installing iRender GPU App on Windows
Step 1: Download the Application
You can download the iRender GPU App installer by clicking the link below:
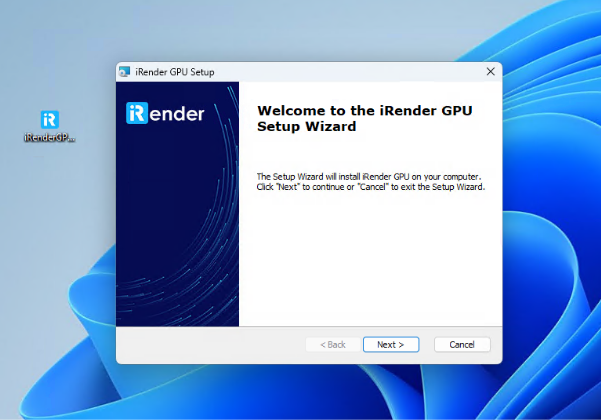
Step 2: Install the Application
Once the download is complete, open the downloaded installer file and follow the on-screen instructions to complete the installation of iRender GPU App on your computer.
2. Installing iRender GPU App on Linux
You can choose one of the following two installation methods, depending on your preference and convenience.
Method 1 — Installation via Graphical User Interface (GUI)
Step 1: Download the Application
You can download the iRender GPU App for Linux by clicking the link below:
Download iRender GPU App for Linux
Step 2: Install the Application
Once the download is complete, follow these steps:
- Double-click the downloaded .deb file.
- Choose to open the file with App Center or GDebi Package Installer.
- Click Install to start the installation.
- Wait for the installation process to complete.
Note: If App Center on Ubuntu 24.04 cannot open the .deb file, you can use GDebi instead by following the steps below:
- Open Terminal and run the following command to install GDebi:
sudo apt install gdebi - Once GDebi is installed, right-click the .deb file.
- Select Open With → GDebi Package Installer.
- Click Install to complete the installation.
Method 2 — Installation via Command Line (Terminal)
Step 1: Download the Application
Open Terminal and run the following commands:
cd ~/Downloads
wget https://public.gpuhub.net/iRenderGPU/Linux/iRenderGPU_Linux.deb
Step 2: Install the Application
Run the following commands in Terminal:
cd ~/Downloads
sudo apt install ./iRenderGPU_Linux.deb
Note:
- Make sure to include ./ before the file name.
- When prompted by apt, type Y and press Enter to confirm.
- Enter your system password when prompted to proceed with the installation.
3. Installing iRender GPU App on macOS
Step 1: Download the Application
iRender GPU App provides two macOS versions compatible with different processor architectures. Please select the appropriate version for your Mac:
- Apple Silicon (ARM64): For Mac computers powered by Apple Silicon chips (M1, M2, M3, M4, and later).
Download for macOS ARM64 - Intel (x64): For Mac computers powered by Intel processors.
Download for macOS x64
Step 2: Install the Application
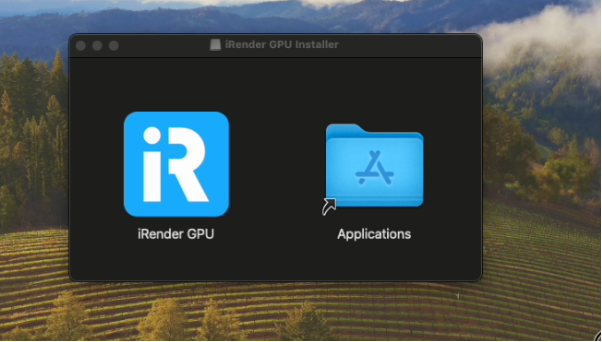
After downloading the appropriate version, follow these steps:
- Double-click the downloaded .dmg file to open it.
- In the installation window, drag the iRender GPU App icon into the Applications folder.
- Wait for the copying process to complete.
- Open the Applications folder and launch iRender GPU App.