
How to use NVLink on iRender server
NVLink can be scalable memory and performance in respect of VRAM, Bandwidth, CUDA cores, and so on. Typically, VRAM for each graphics card does not stack in multi-GPU processing. When a project requires a large amount of VRAM, NVLink is needed. This NVLink feature enables you to pool together resources like the VRAM. For instance, there are 48GB of VRAM available when using 2x RTX 3090s (each 24GB) due to the memory pooling capabilities of NVLink.T
To bring efficiency to customers, iRender farm is delighted to offer NVLink on the 4P-2 x RTX 3090 package.
First you need to request extra service according to the instructions here.
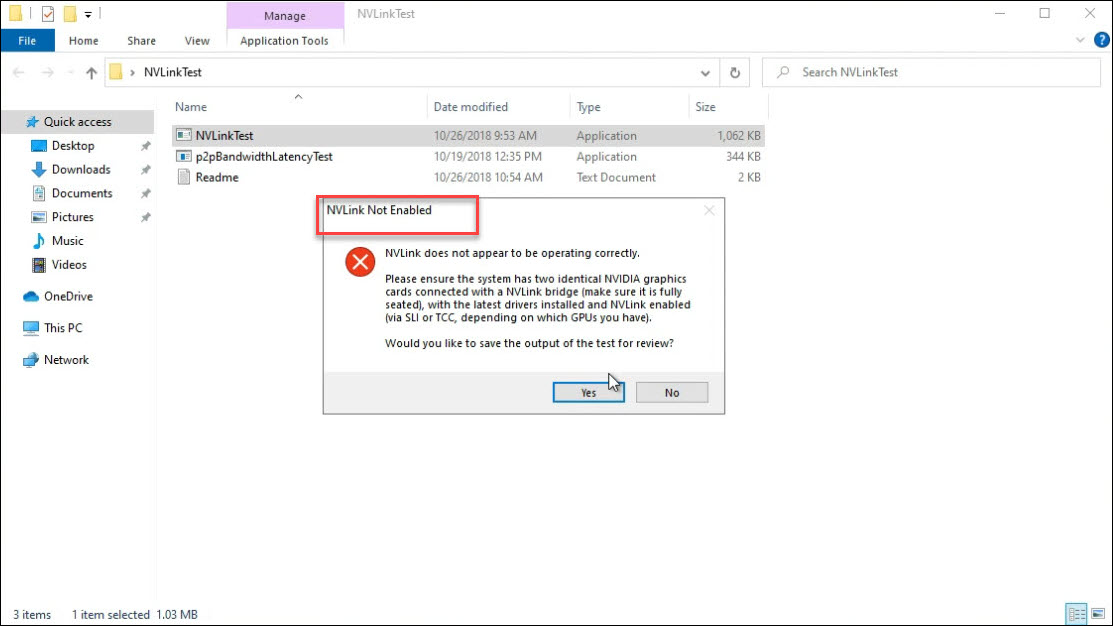
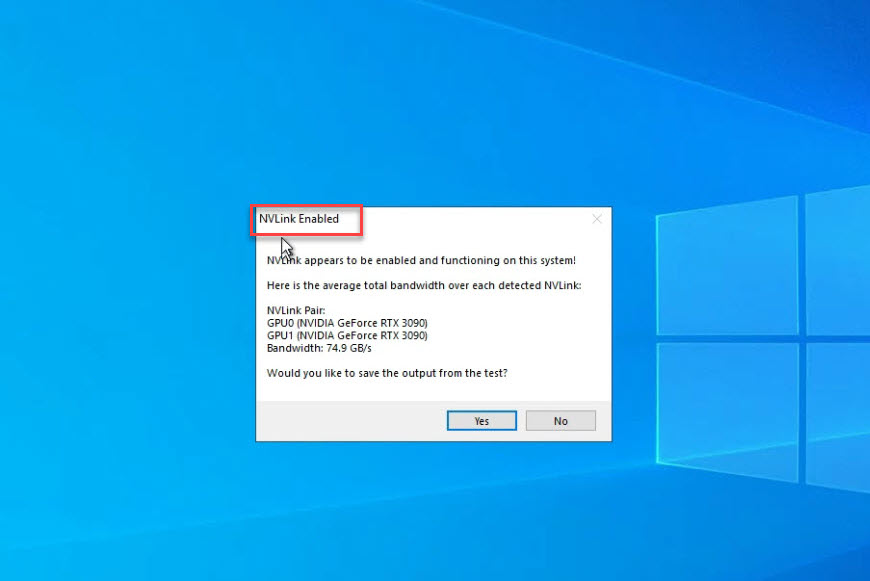
To use NVLink on iRender server You should follow the instructions below 1. Connect to the iRender server via RDP. On the iRender server, you should: 1.1. Check if NVLink is active on the server following this way:- From X drive, come to the Tool folder, copy NVLink test zip file to the desktop, extract it and run the NVLinkTest file.
- If there’s a popup saying NVLink not Enabled like this, it means we haven’t activated NVLink.
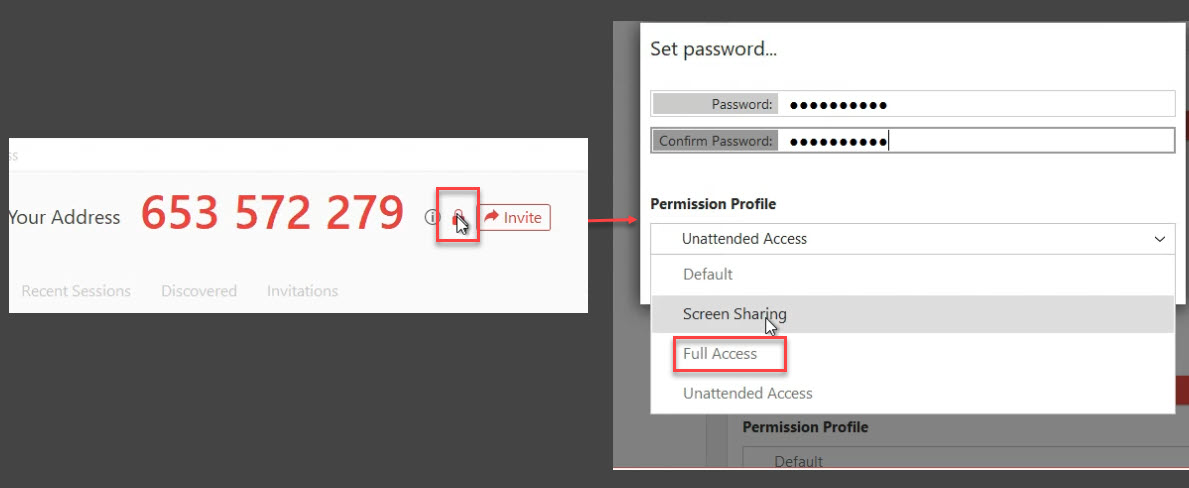
- Click the security icon and then Set the Password login for Anydesk and set Full Access for permission profile
- Copy the ID of Anydesk on the iRender’s remote server, and just minimize your remote desktop
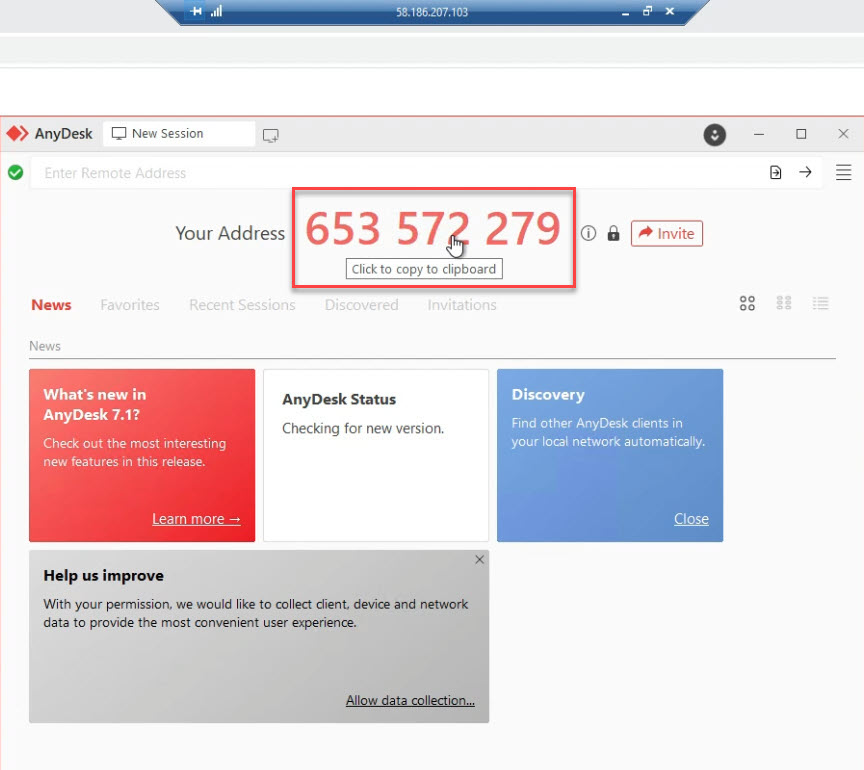
- Paste the ID of Anydesk you just copied on iRender’s remote server to the Anydesk on your local machine. Do not connect yet. Close the rdp file and then Connect your local machine to the iRender’s server through Anydesk.
- Note: You should paste the ID first then close the rdp file.
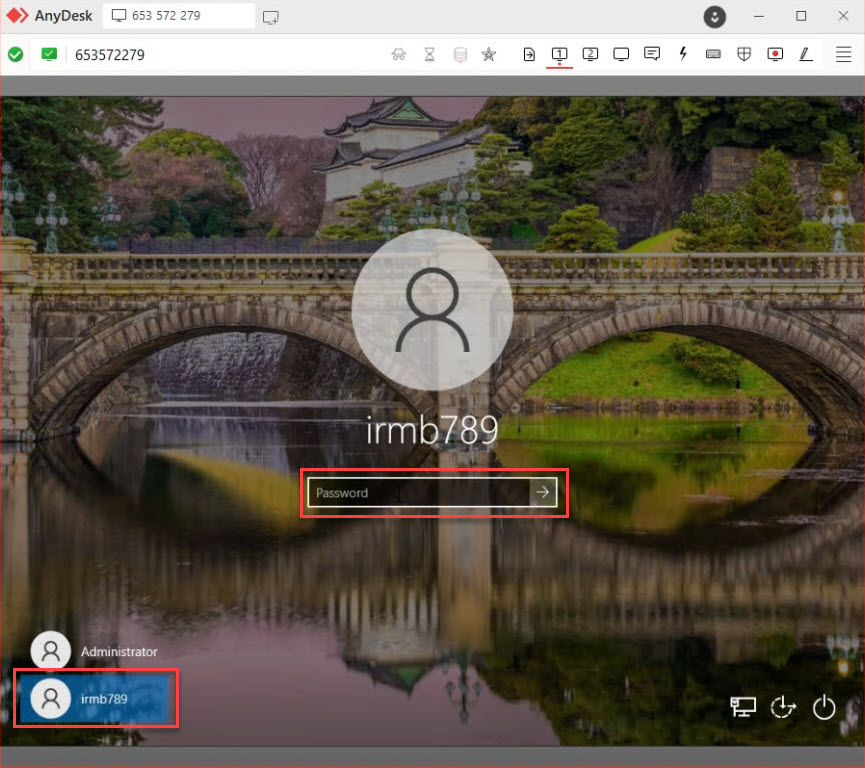
- Click the arrow icon to ‘connect’

- Click to select your iRender’s account and enter your iRender’s password to connect to the iRender server
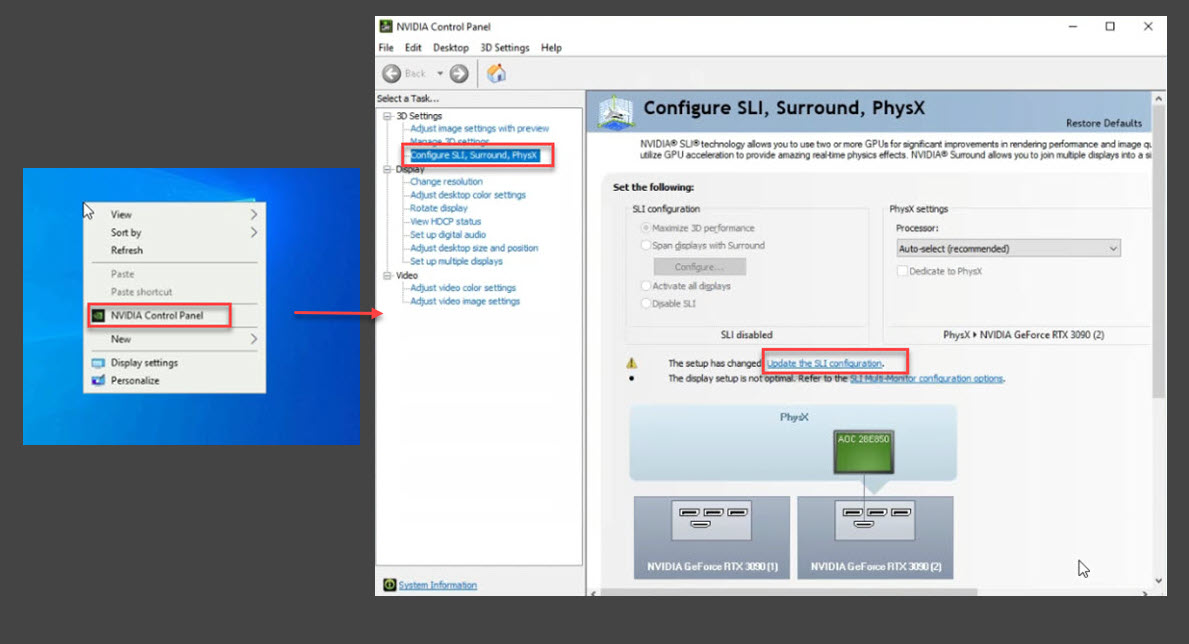
- Right-click and select NVIDIA Control Panel
- On the 3D Setting tab click to select Configure SLI, Surround, PhysX, then Select ‘Update the SLI configuration’
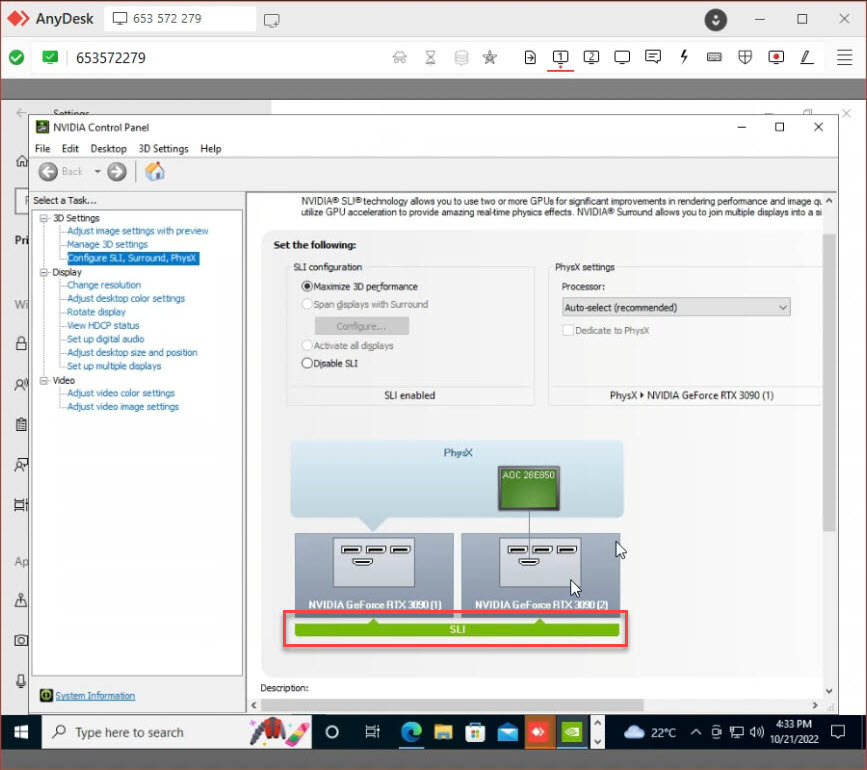
- If your SLI is similar as shown below, your NVLink is activated
Watch the tutorial video below:
