iRender app tutorial
To use the iRender app on your mobile phone, open it and log into your account by entering your iRender credentials. If you don’t have an iRender account, create one following the Register guide.
Once you log into the app, you can see 5 icons at the bottom of the app including respectively: Dashboard, Image Management, Payment, Notifications, Menu.
CONTENTS
1. Dashboard
The dashboard page shows overall information about the image list, the total number of images, account storage, accumulated recharge, server availability.
2. Image Management
The Image Management page shows the images in detail. Here you can create, boot a machine, as well as connect, shut down the machine.
2.1. Create an image
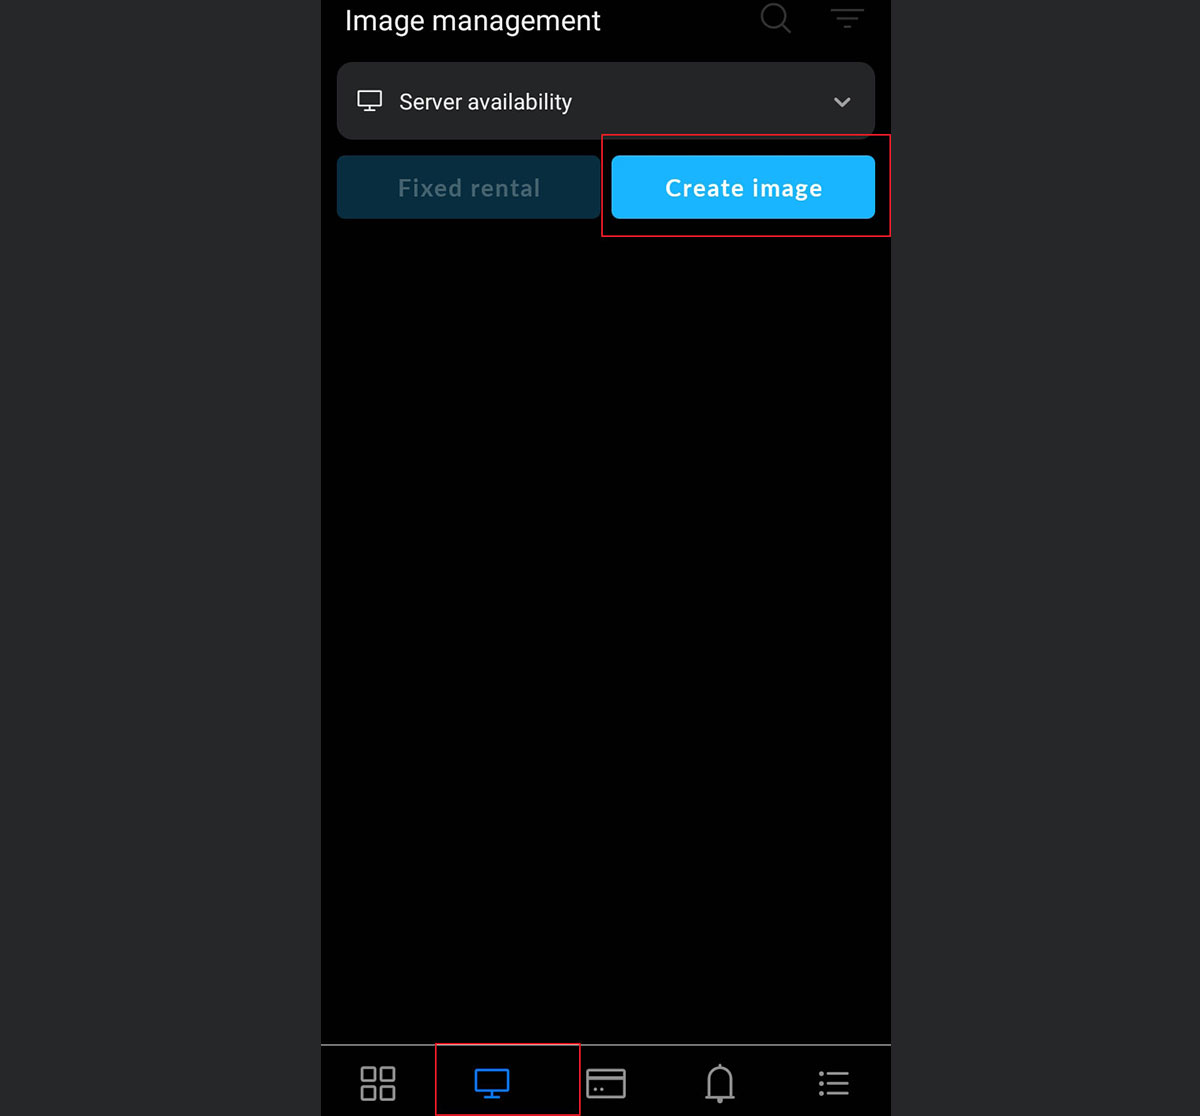
On the iRender app, it is convenient and easy to create an image and boot it.
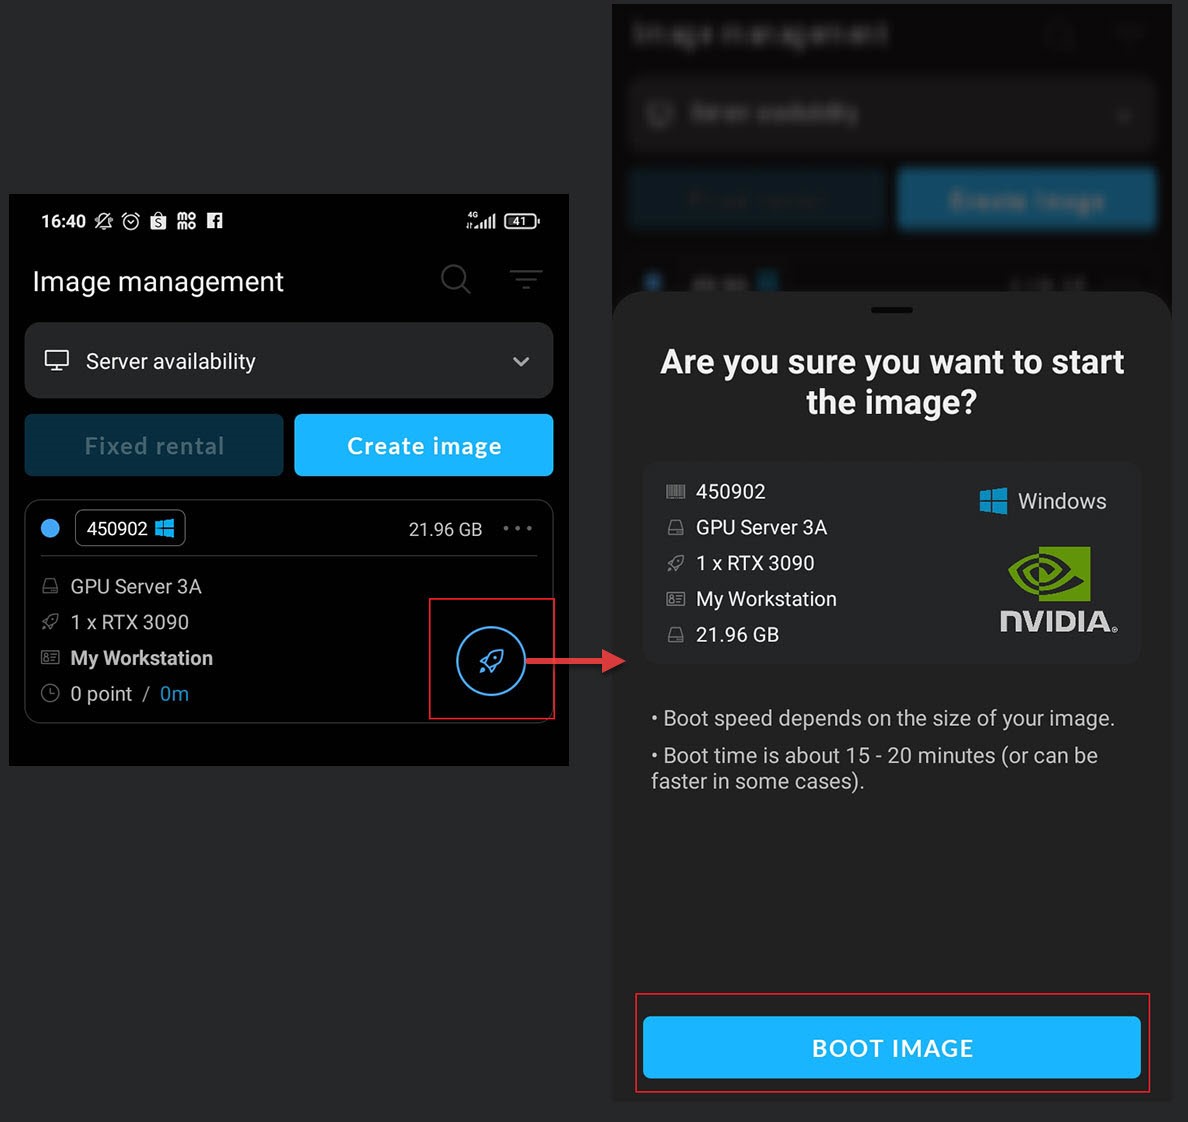
2.2. Boot a machine
2.3. Connect
Once the image is booted successfully, the server is ready to use.
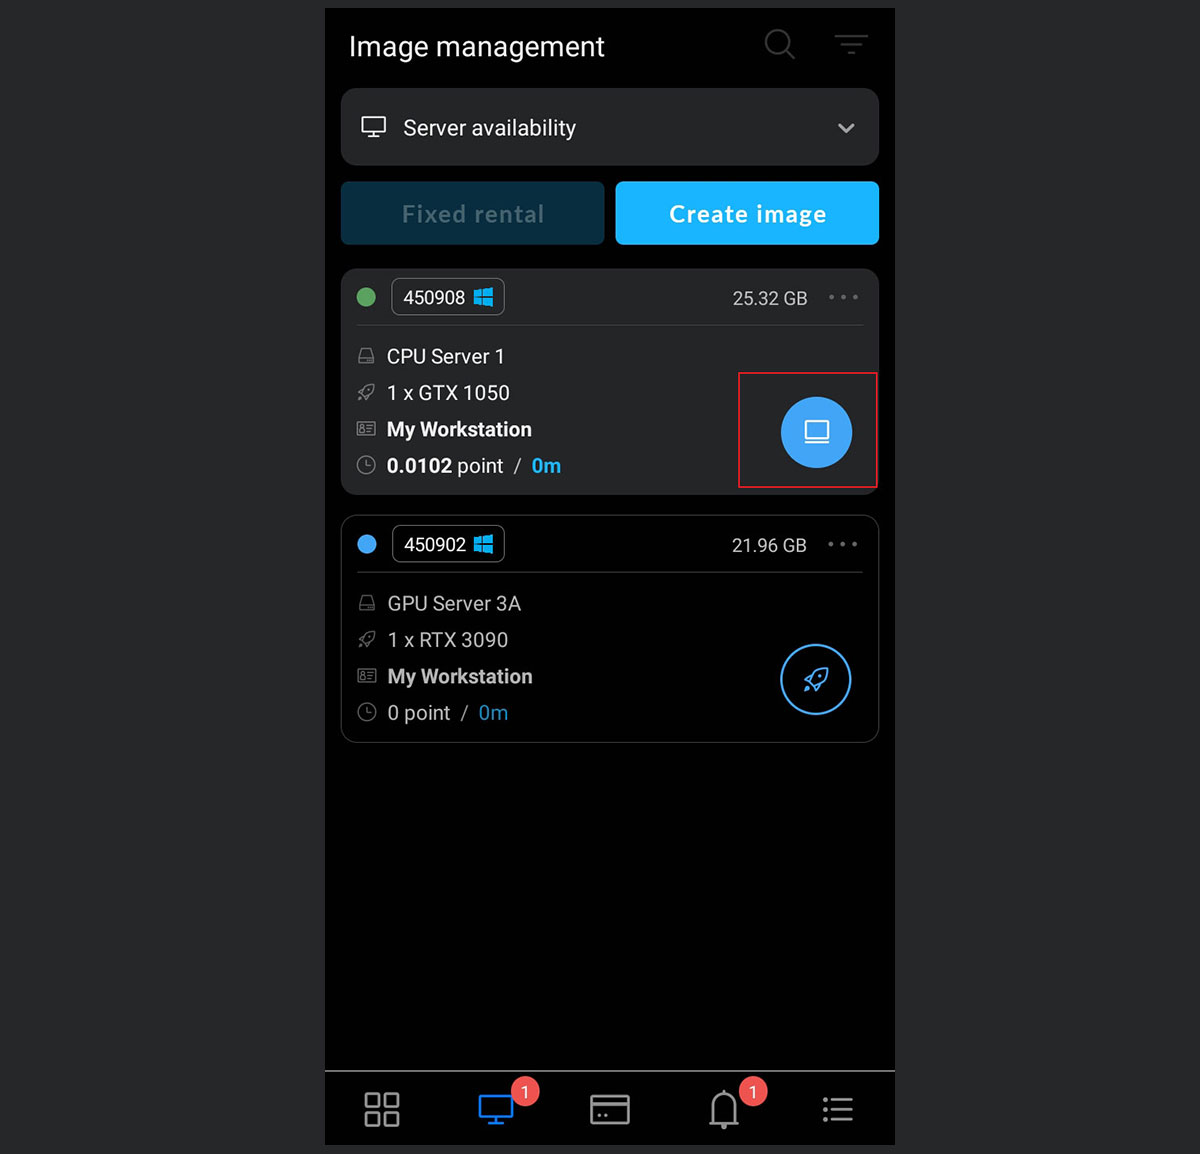
To connect the server from your mobile phone:
- Download Remote Desktop app: Remote Desktop for Android devices and Microsoft Remote Desktop for iOS devices.
- Choose the Connect icon marked in blue as described below.
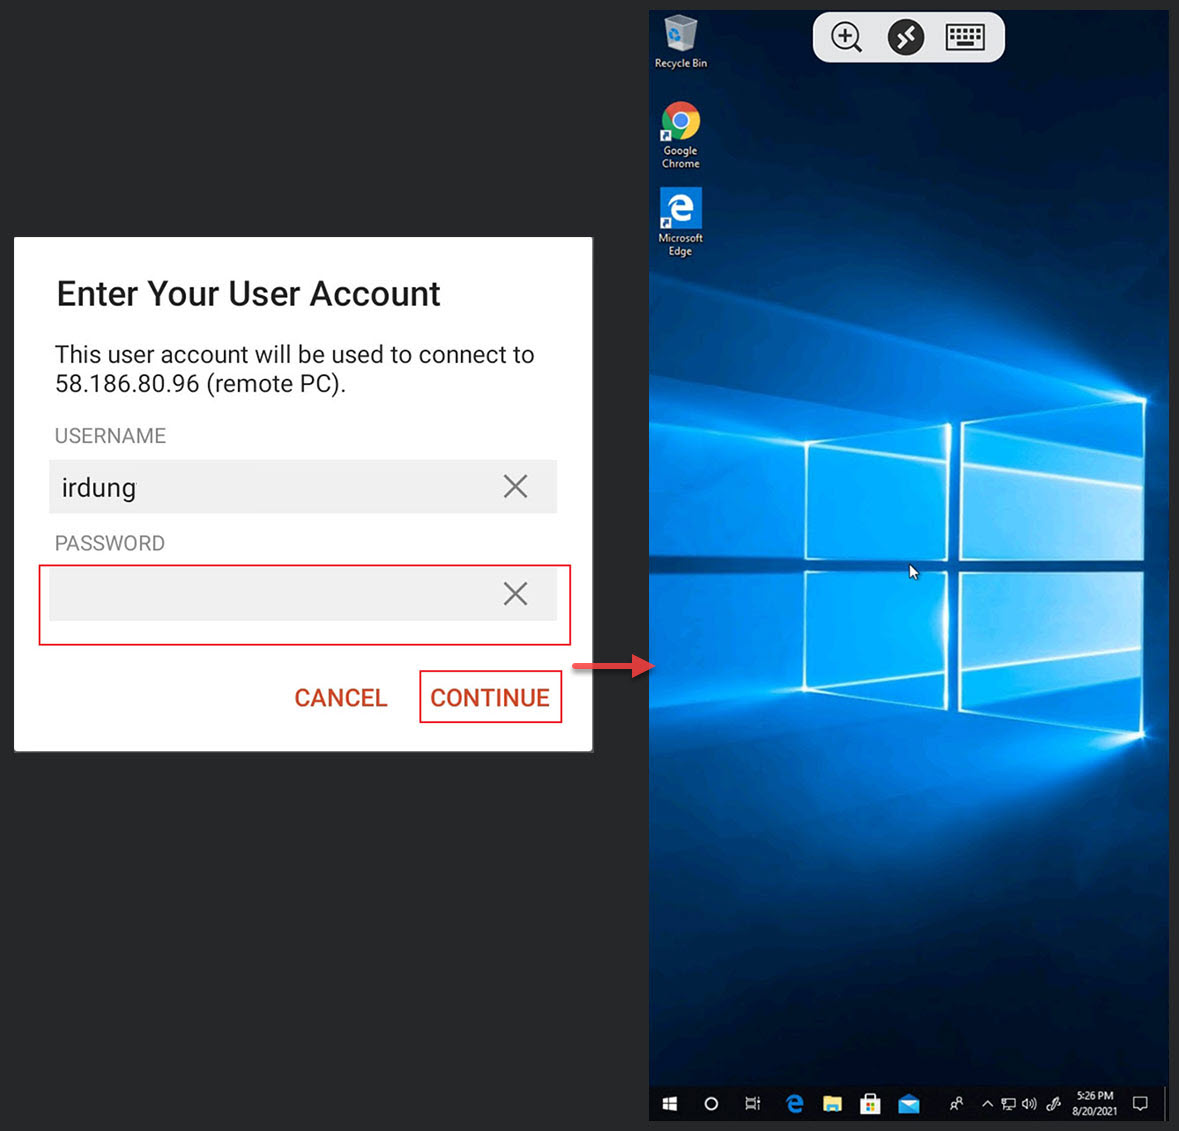
- Then you’re redirected to the Remote Desktop app. Here, enter your iRender credentials to connect the server.
2.4. Basic functions
In the top-right corner of the selected image, choose the 3-dot icon. Here you can take some basic actions like Shutdown, Shutdown to clone, Scheduler for the shutdown. Read the Shutdown guide.
You even set up a fixed rental or hardware fixation, and so on.
3. Payment
The Payment page shows the accumulated recharge, the remaining iRender points in both Primary and Bonus ones. Here you can make payments through Paypal, Payoneer. Momo is acceptable for customers in Vietnam. Read the Making payments guide.
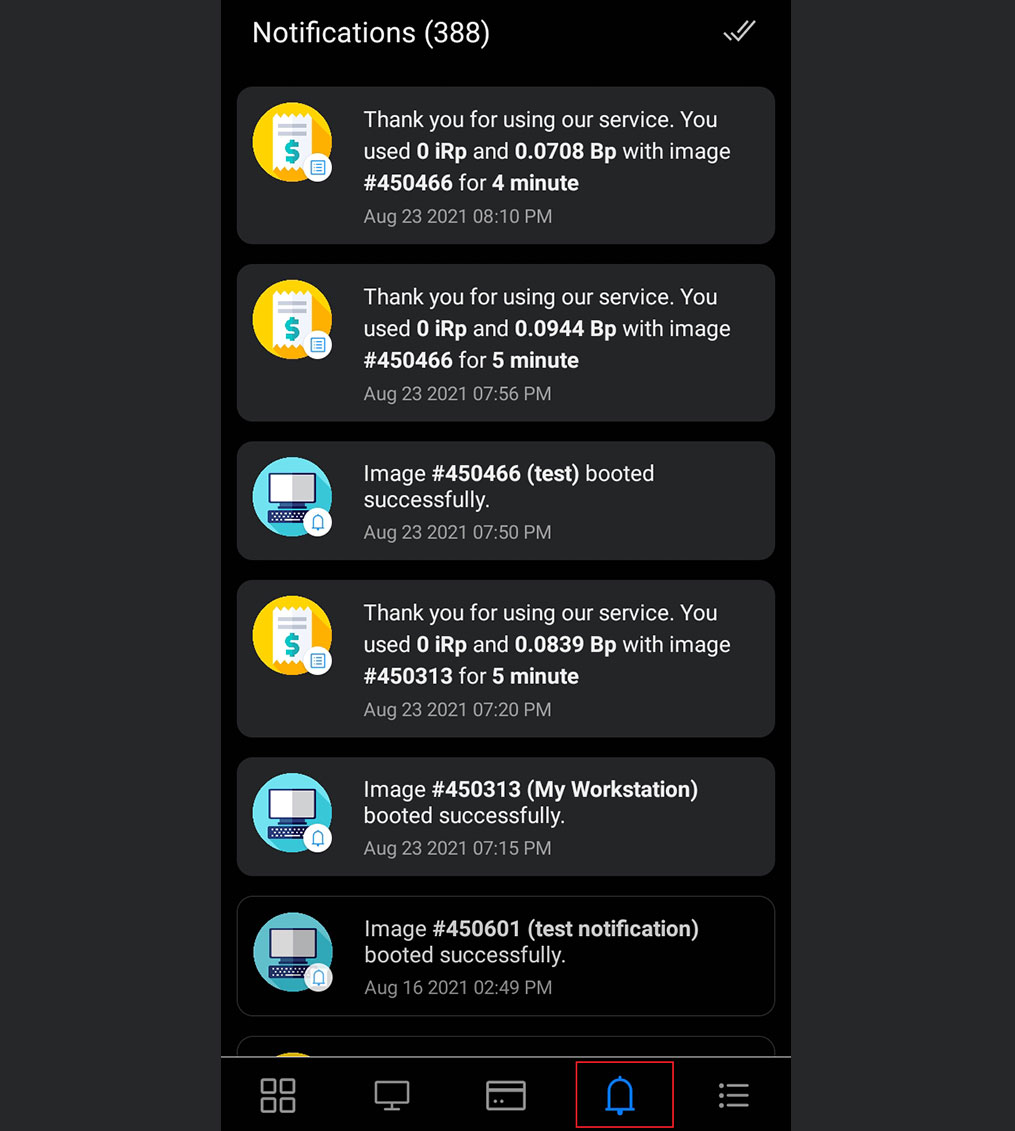
4. Notifications
The Notifications page shows notifications about Image booted successfully, Account balance changes, Deposit is successful, and Promotion.
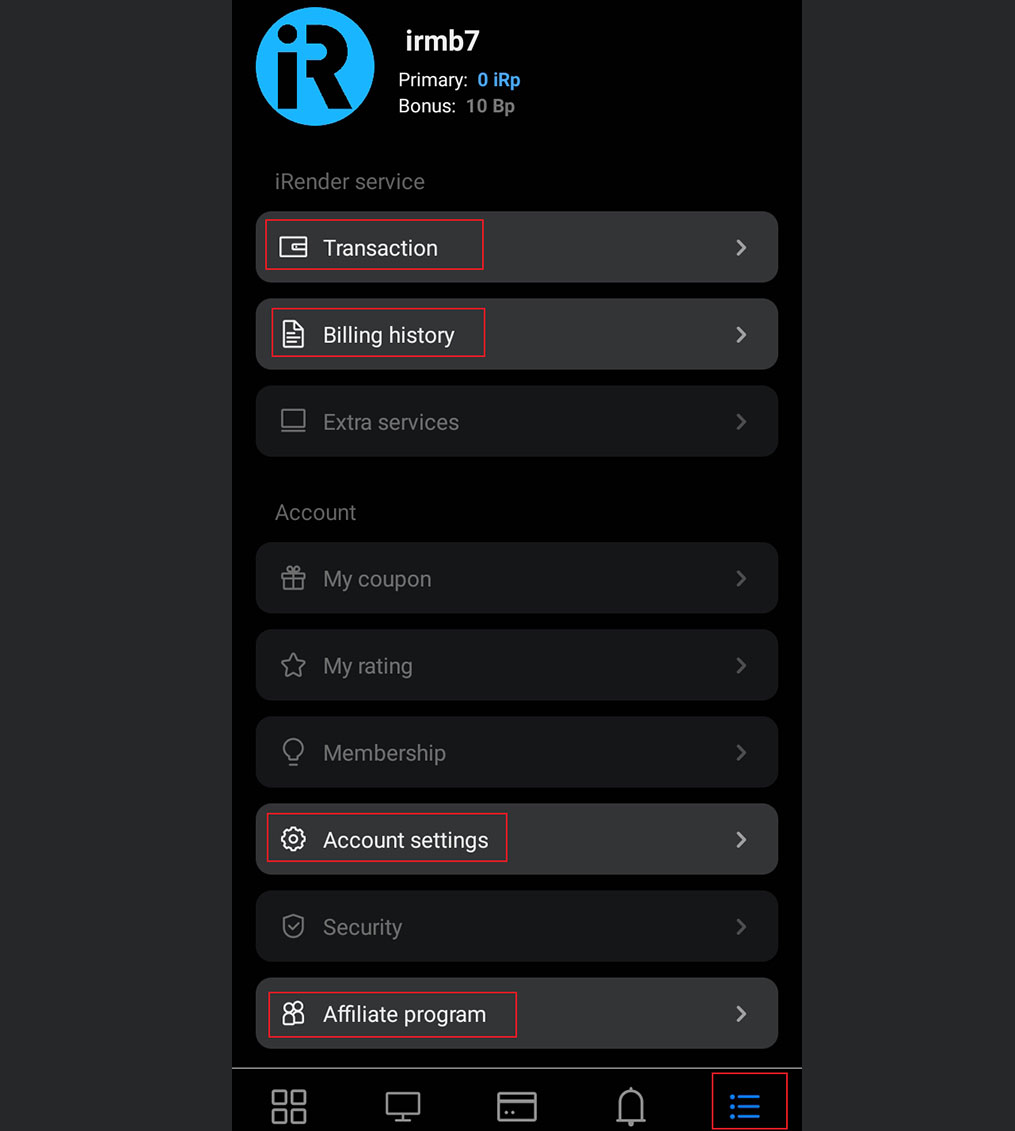
5. Menu
The Menu page shows some extra iRender features and account settings.
“>


